

| This article is outdated. Most Linux distributions should now support Certbot packages, so please use those. If custom configuration is needed, it will probably concern how to reload the relevant services, such as Dovecot and Postfix, after certificate renewal. I think you can configure this by creating a file such as 100-dovecot under /etc/letsencrypt/renewal-hooks/post and putting something like /bin/systemctl restart dovecot.service in it. |
Let’s Encrypt has finally left beta and been officially released. It has also become Certbot, provided by the EFF.
Installation and configuration have also become dramatically easier than during the beta period.
First, go to https://certbot.eff.org/. You will see a screen for selecting your web server and OS.
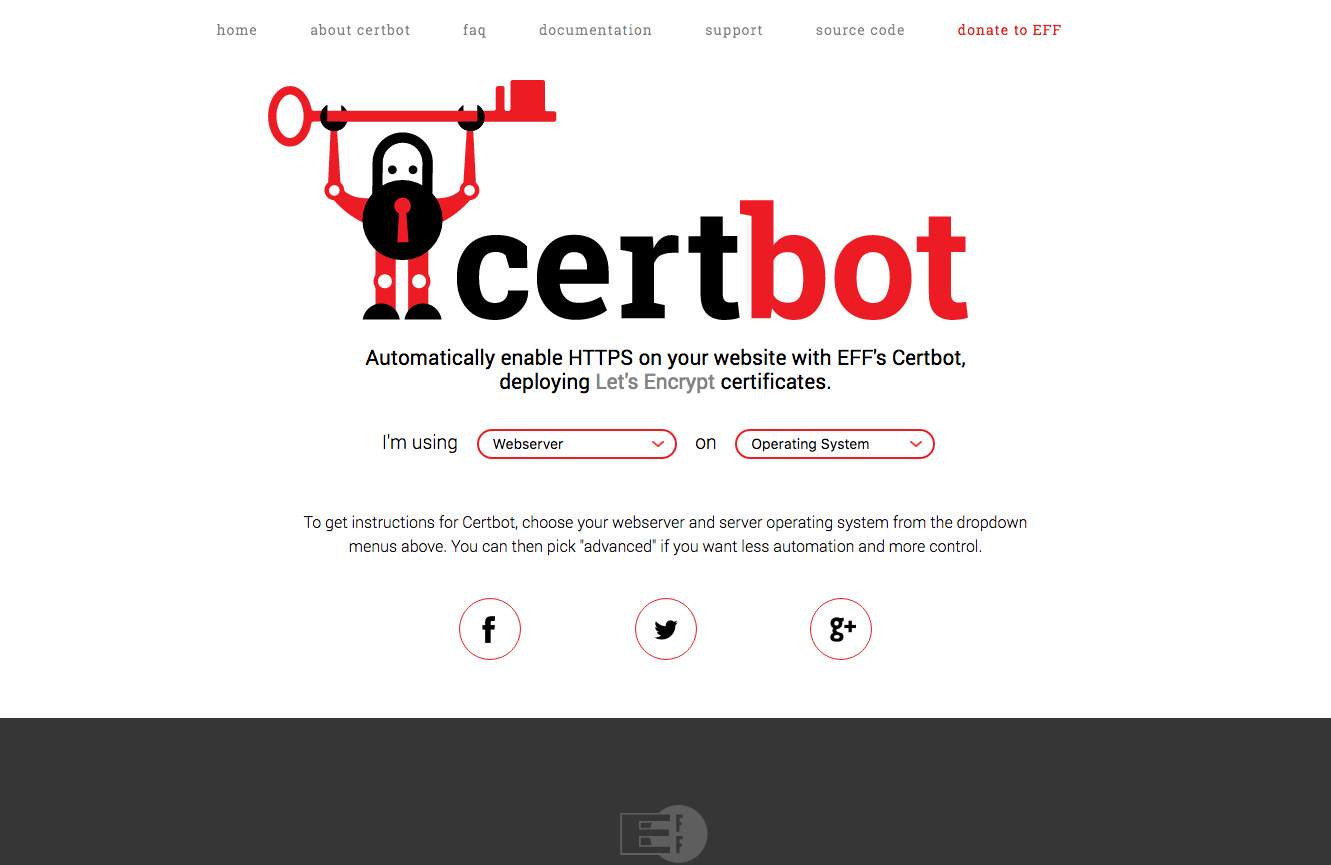
Select the web server and OS you use, and a manual for your environment will appear, although it is in English. Then simply follow it. For example, with Apache + Ubuntu 14.04:
$ wget https://dl.eff.org/certbot-auto
$ chmod a+x certbot-auto
This downloads the Certbot installation file and changes its permissions. Then run:
$ ./certbot-auto
This installs Certbot.
Once Certbot is installed, install the certificate. If you use Apache, run:
$ ./path/to/certbot-auto --apache
That is all. The usability is almost the same as Let’s Encrypt.
How Do You Configure Automatic Renewal?
At this point, naturally you will want to renew the certificate automatically. The documentation appears to recommend registering it with cron and running a renewal request every 1 days, 2 times. Even when it runs, it does nothing unless the certificate is due for renewal.
However, on Ubuntu and similar systems, Certbot does not run as root. It must run as a regular user, but then requiring a password is a problem. To avoid this, if the user who installed Certbot is “foo,” run:
$ sudo visudo
and add the following line to /etc/sudoers.
foo ALL=(root) NOPASSWD:SETENV: /home/foo/.local/share/letsencrypt/bin/letsencrypt
Replace the underlined “foo” with the username of the user who installed Certbot. Certbot-auto should now stop asking for a password. Let’s try it.
/home/foo/certbot-auto renew –dry-run
Did it work without asking for a password? If so, register it in Crontab.
$ crontab -eEnter something like the following. In this example, it runs daily at 3:45 and 15:45, for a total of 2 times. Everyone should use random times, so change them as appropriate.
45 3,15 * * * /home/foo/certbot-auto renew –quiet –no-self-upgrade
Bonus: Switch the Courier MTA SSL Certificates Too
Apache was probably configured almost entirely automatically. While we are at it, let us switch the Courier MTA SSL certificates as well.
The .pem file used by Courier MTA consists of the private key, certificate, and certificate chain concatenated together. With Certbot, if your domain is “example.com,” these files are in /etc/letsencrypt/live/example.com/. Suppose the .pem file read by the Courier MTA SSL configuration file (/etc/courier/esmtpd-ssl) is /etc/courier/esmtpd.pem. In that case:
$ sudo cd /etc/letsencrypt/live/example.com/
$ sudo cat privkey.pem cert.pem fullchain.pem > /etc/courier/esmtpd.pem
$ sudo /etc/init.d/courier-mta-ssl restart
That should work. As usual, I offer no guarantees.
Bonus 2: Configure Dovecot Too
I accidentally forgot this….
The default Dovecot private key is /etc/dovecot/private/dovecot.pem, so it must be linked to /etc/letsencrypt/live/example.com/privkey.pem.
$ sudo ln -s /etc/letsencrypt/live/example.com/privkey.pem dovecot.pem
$ sudo doveadm reload
Related posts
Setting Up Name-Based HTTPS Virtual Hosts (SNI) with Let’s Encrypt
Let's Encrypt is a free TLS server-certificate service provided by the US foundation Internet Security Research Group (ISRG). Its motto is free, automated, secure, transparent, open,…
Fees for Commercial Registration Electronic Certificates Reduced: 1-Month Certificates Now Start at ¥500
The fees for commercial registration electronic certificates were revised effective April 1. An electronic certificate valid for 1 month can now be issued for ¥500, while…
You must be logged in to post a comment.