
Sorry for the long gap after I became unwell. In the previous article, I obtained a Japan Post Digital Address (Digi-Ad) and used it in Japan Post’s shipping-label creation app. This time, I will retrieve it through the API. After all, the “Postal Code and Digital Address API” page says it supports OAuth 2.0 and OpenID Connect, so I simply had to try it.
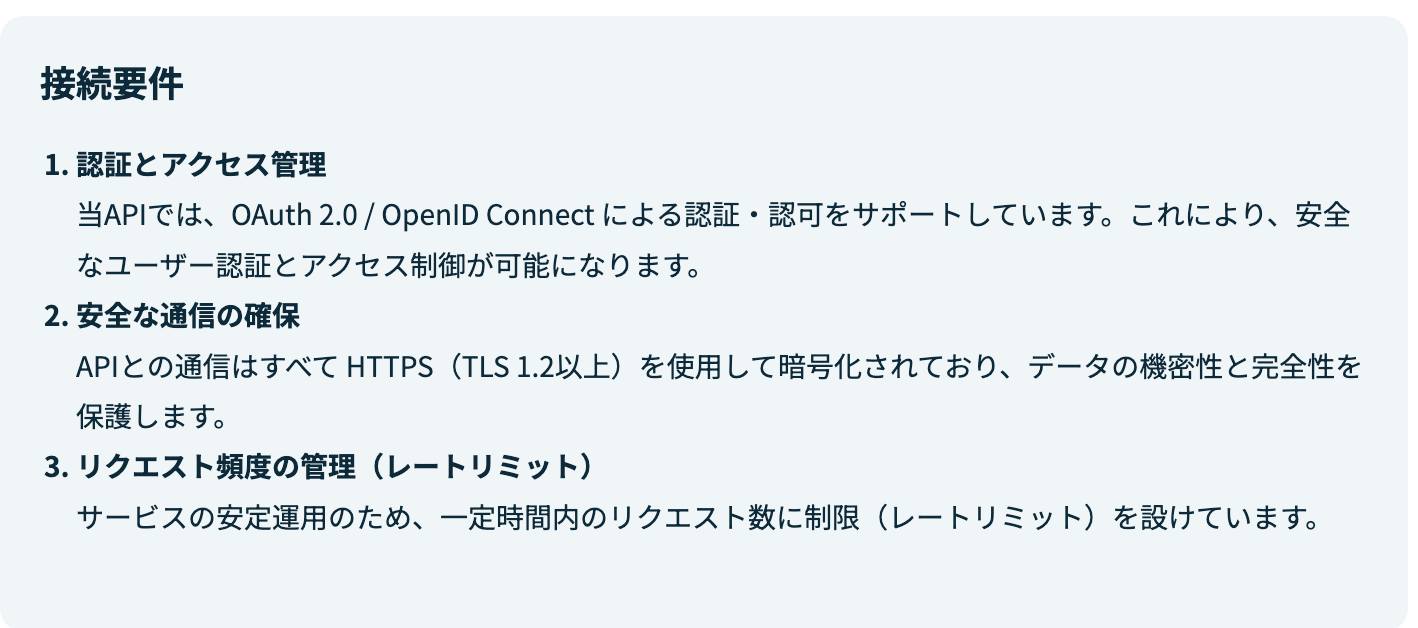
Obtain a Yubin ID Biz Account
To call the Yubin ID API, you first have to register for Postal Code and Digital Address for Biz. When you go to the registration page, you will see a screen like this.

It appears that the user name can be changed later. Enter any suitable name, and the “Register” button turns black and becomes clickable, so click it.
You are then taken to the organization registration screen. It appears to support both corporations and sole proprietors. Either would have worked for me, but I chose the corporate option because it had more fields to fill in. I also happen to own a company called NAT Consulting LLC.

Once registration is complete, you are taken to a screen containing the user list and other items.

In addition to the user list, the left-hand menu on this screen contains a “Settings” menu showing how the organization has been configured. Under “Services,” it also contains a page for the “Postal Code and Digital Address API” and a link to a page for “Searching for an Address from a Digital Address.” Let’s go straight to the “Postal Code and Digital Address API” page we came for.
Clicking it opens the menu.
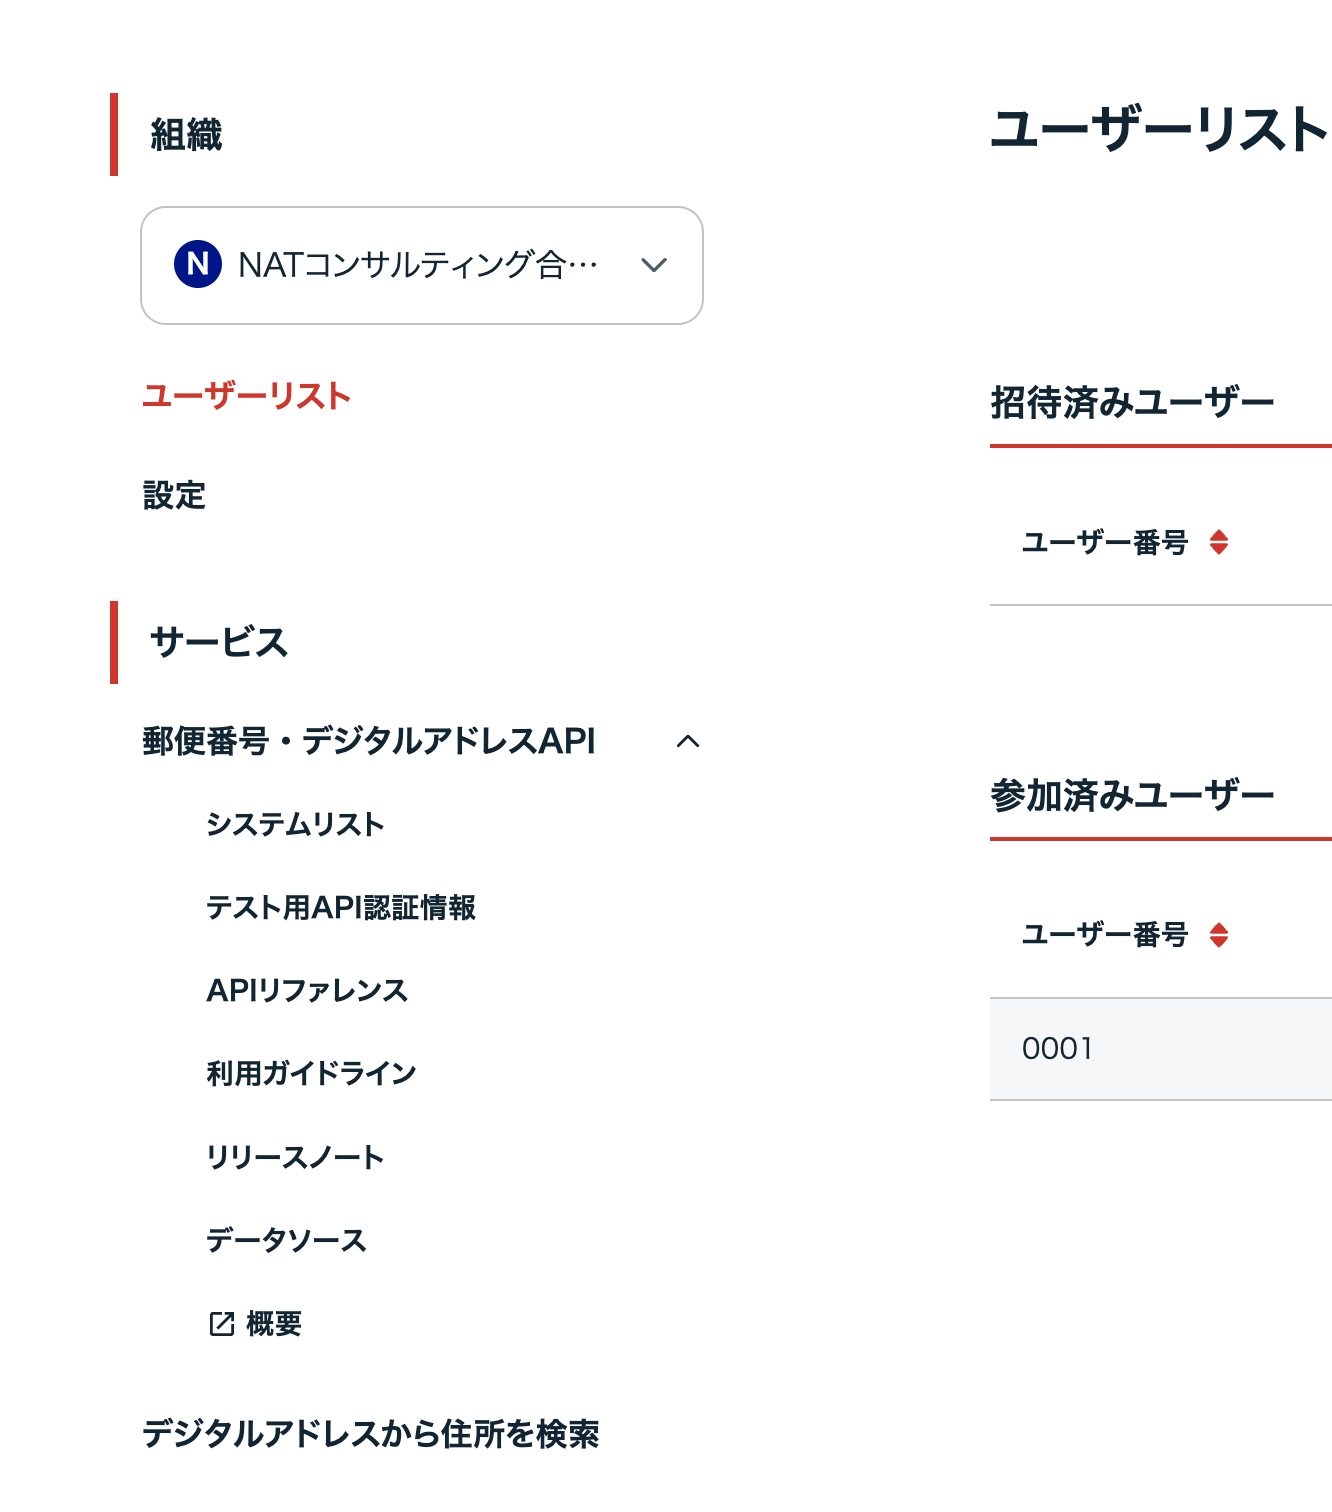
The “System List” lets you view a list of registered clients and register new clients.
Under “Test AI Credentials,” you can view the client_id and client_secret used for the test API. Documentation for the test API reference is also available. When first writing a client to call the test API, you will work from this page. The API reference looks like this.
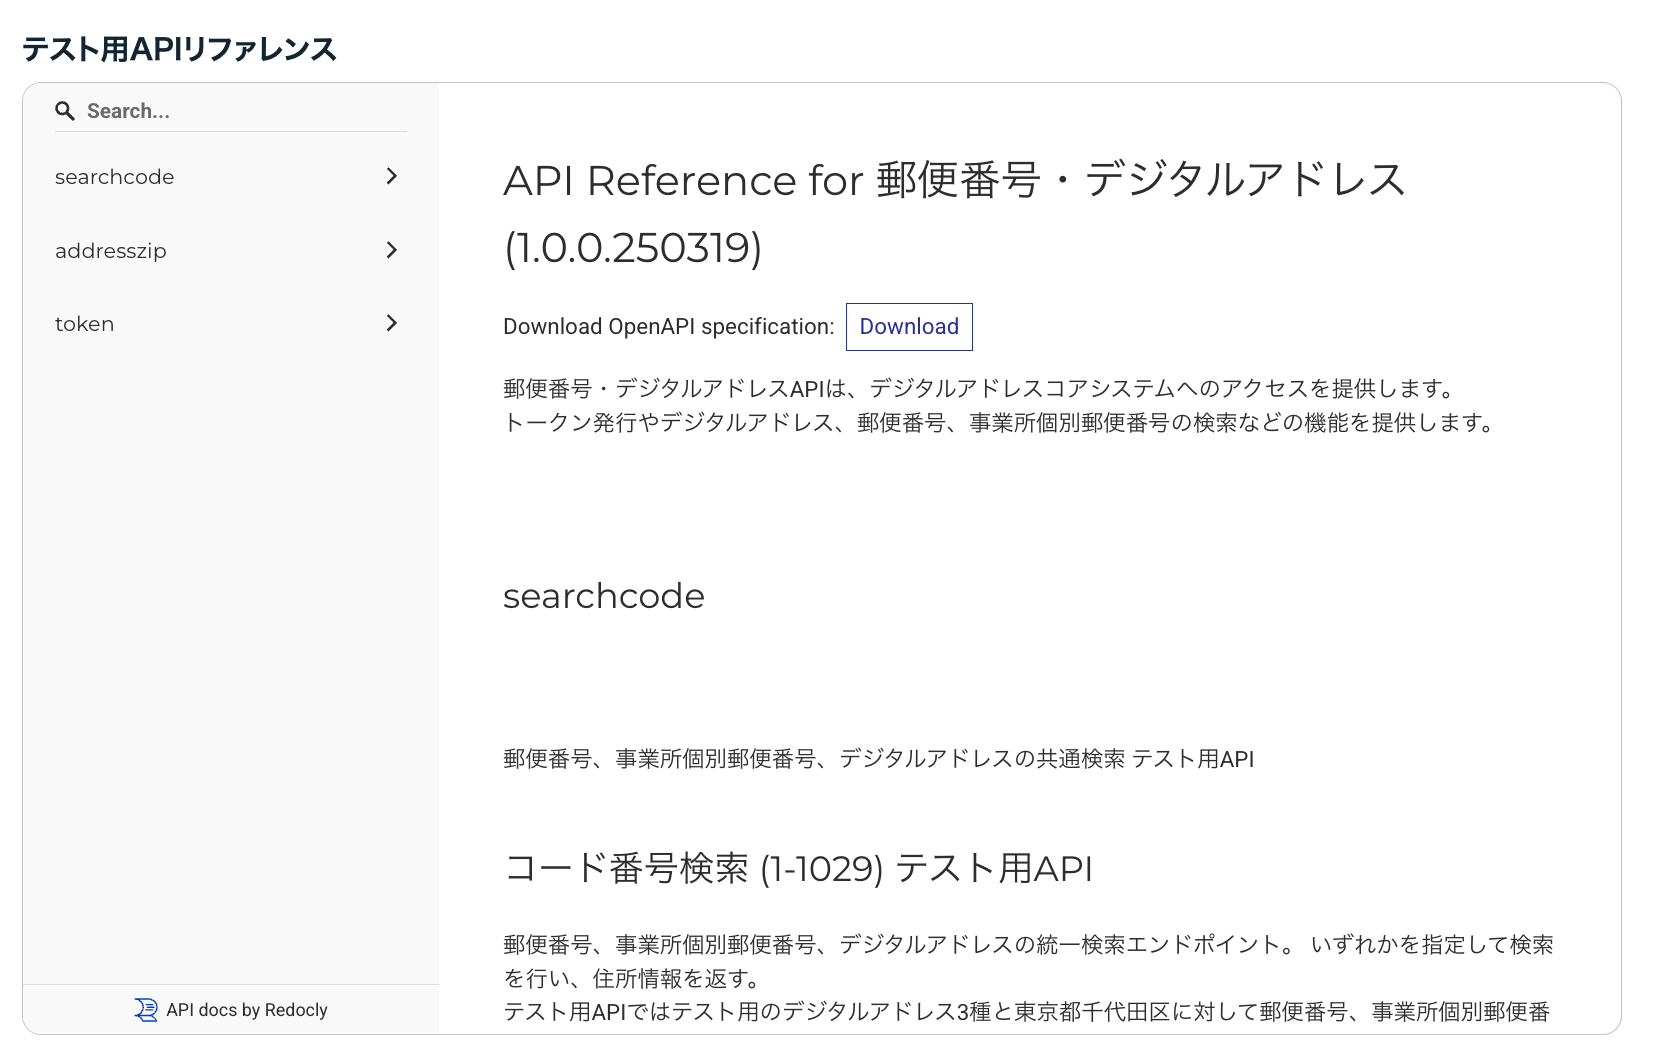
The “Download” button looks as though it should download the OpenAPI specification, but I could not download it. This is something I would like to see fixed.
The API Reference contains the production API reference.
The Usage Guidelines contain precautions concerning the handling of “Digital Address” data.
The Release Notes are currently blank.
The Data Sources section includes the CSV files on which the data provided by this API is based.
Let’s Call the Test API
Let’s call the test API right away and see how OAuth and OpenID Connect are being used.
Obtaining an Access Token
According to the documentation, the only thing it appears to support is the OAuth 2.0 [RFC6749] client_credentials grant. You use it to obtain an access token. The credentials would ordinarily be sent in the Authorization header—which the server is required to support—or as parameters in the request body, but here they are sent in the body as JSON.
It looks like this.
{
"grant_type": "client_credentials",
"client_id": "Test_Client_Identifier_String",
"secret_key": "Test_Secret_Key"
}
This is not defined in OAuth 2.0, so it would be fair to call it a proprietary specification. Incidentally, sending the request using the method specified in RFC 6749 results in a Bad Request response.
That is not the only proprietary element. The request is also required to include x-forwarded-for. This is another proprietary extension. I can understand the motivation, but the documentation does not say what value should be provided. I assume it is meant to be the IP address of the device connecting to this client. According to RFC 7239, however, x-forwarded-for should be retired in favor of Forwarded.
Incidentally, the API endpoint is displayed when you click the path in the documentation.
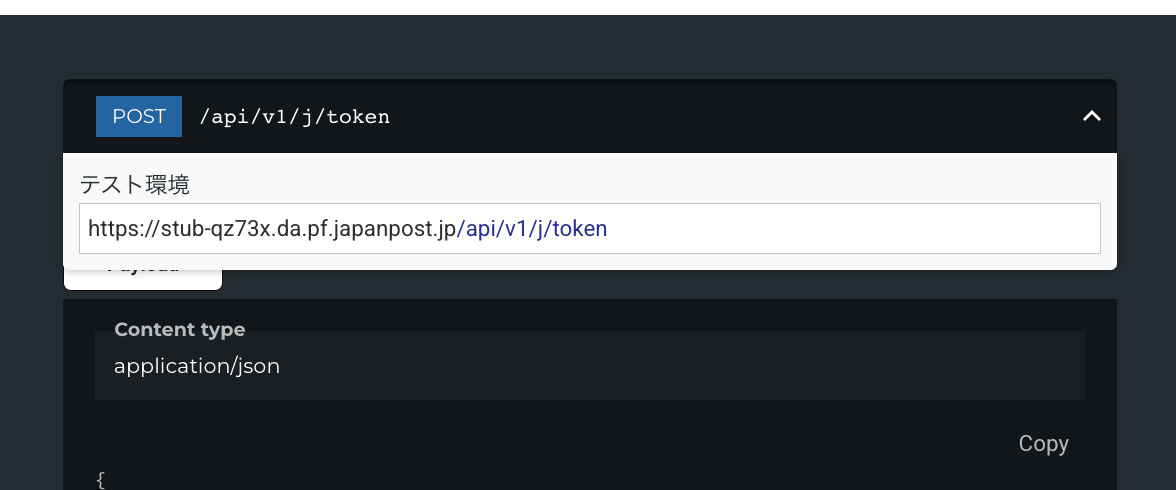
With all of that in mind, send a request to the test API endpoint obtained from the API documentation.
curl -X POST https://stub-qz73x.da.pf.japanpost.jp/api/v1/j/token \
  -H "Content-Type: application/json" \
  -H "X-Forwarded-For: 64.227.48.220" \
  -d '{
    "grant_type": "client_credentials",
    "client_id": "Test_Client_Identifier_String",
    "secret_key": "Test_Secret_Key"
  }'
The response looks like this.
{"token":"eyJhbGciOiJSU.中略.TmrM38fAf8cgNm1QAnf-j0YFQA",
"token_type":"jwt",
"expires_in":600,
"scope":"J1"}
The access token is in JWT format. Its contents look like this.
The header is:
{
  "alg": "RS256",
  "typ": "JWT"
}
The payload is:
{
  "iss": "JPD",
  "sub": "DGA TOKEN",
  "scope": "J1",
  "clientId": "Biz_DaPfJapanpost_MockAPI_j3QKS",
  "ec_id": "8aeaf147-112f-4127-8cbb-2eff08a8e161",
  "iat": 1742886316,
  "exp": 1742886916
}
That is what it contains. But the typ value looks wrong. According to RFC 9068, typ should be at+jwt.
Also, because iss is merely a string, there is no way to discover the JWK and therefore no way to validate the token. Japan Post itself is the party validating it, however, so that is not a problem here. I expected sub to contain the client_id, but apparently it does not; it seems to be a fixed string.
Let’s Resolve a Digi-Ad to an Address
Using this access token, we next make an OAuth request to the search endpoint. The access token can be sent in the Authorization header. X-Forwarded-For is still sent as before. The test API supports searches using 3 test Digital Addresses (A7E2FK2, JN4LKS2, and QN6GQX1), as well as postal-code and business-specific postal-code searches for Chiyoda-ku, Tokyo.
With curl, it looks like this.
curl -X GET https://stub-qz73x.da.pf.japanpost.jp/api/v1/searchcode/A7E2FK2 \
  -H "Authorization: Bearer eyJhbGci..中略..QAnf-j0YFQA" \
  -H "X-Forwarded-For: 64.227.48.220" \
  -H "Accept: application/json"
The response looks like this.
{
	"page": 1,
	"limit": 1000,
	"count": 1,
	"searchtype": "dgacode",
	"addresses": [
		{
			"dgacode": "A7E2FK2",
			"zip_code": "100-0005",
			"pref_code": "13",
			"pref_name": "東京都",
			"pref_kana": null,
			"pref_roma": null,
			"city_code": "13101",
			"city_name": "千代田区",
			"city_kana": null,
			"city_roma": null,
			"town_name": "丸の内",
			"town_kana": null,
			"town_roma": null,
			"biz_name": null,
			"biz_kana": null,
			"biz_roma": null,
			"block_name": "2丁目7−2",
			"other_name": "部屋番号:サンプル1",
			"address": "東京都千代田区丸の内2丁目7−2部屋番号:サンプル1",
			"longitude": null,
			"latitude": null
		}
	]
}
The response is proprietary rather than an OpenID Connect UserInfo response.
Incidentally, if you specify a Digi-Ad other than the 3 shown above, the response is:
{
"request_id":"848f5369-56fb-4488-aecd-b82599a1b2f9",
"error_code":"404-1029-0001",
"message":"該当するデジアドがありませんでした"
}
That is what comes back.
Let’s Access the Production Environment
Now that the test worked, let’s try accessing the production environment.
The procedure is the same as for the test API; only the endpoint, client_id, and client_secret change. You can obtain a production client_id and client_secret by registering a client in the “System List” menu.
To obtain a token, change the endpoint to https://api.da.pf.japanpost.jp/api/v1/j/token and send the request.
curl -X POST https://api.da.pf.japanpost.jp/api/v1/j/token \
  -H "Content-Type: application/json" \
  -H "X-Forwarded-For: 64.227.48.220" \
  -d '{
    "grant_type": "client_credentials",
    "client_id": "クライアントID",
    "secret_key": "クライアントシークレット"
  }'
An access token is returned, and you use it to make the request. The response is JSON like the example above. You can also specify a postal code instead of a Digi-Ad.
  curl -X GET https://api.da.pf.japanpost.jp/api/v1/searchcode/6180000 \
  -H "Authorization: Bearer eyJhbGciOiJS..中略..wV0si0TiQ" \
  -H "X-Forwarded-For: 64.227.48.220" \
  -H "Accept: application/json"

The response looks like this.
{
"page": 1,
"limit": 1000,
"count": 2,
"searchtype": "zipcode",
"addresses": [
{
"dgacode": null,
"zip_code": "6180000",
"pref_code": "26",
"pref_name": "京都府",
"pref_kana": "キョウトフ",
"pref_roma": "KYOTO",
"city_code": "26303",
"city_name": "乙訓郡大山崎町",
"city_kana": "オトクニグンオオヤマザキチョウ",
"city_roma": "OTOKUNI-GUN OYAMAZAKI-CHO",
"town_name": "",
"town_kana": "",
"town_roma": "",
"biz_name": null,
"biz_kana": null,
"biz_roma": null,
"block_name": null,
"other_name": null,
"address": null,
"longitude": null,
"latitude": null
},
{
"dgacode": null,
"zip_code": "6180000",
"pref_code": "27",
"pref_name": "大阪府",
"pref_kana": "オオサカフ",
"pref_roma": "OSAKA",
"city_code": "27301",
"city_name": "三島郡島本町",
"city_kana": "ミシマグンシマモトチョウ",
"city_roma": "MISHIMA-GUN SHIMAMOTO-CHO",
"town_name": "",
"town_kana": "",
"town_roma": "",
"biz_name": null,
"biz_kana": null,
"biz_roma": null,
"block_name": null,
"other_name": null,
"address": null,
"longitude": null,
"latitude": null
}
]
}Summary
To summarize:
- The Digi-Ad conversion API obtains an access token using a proprietary scheme that resembles the client credentials grant in RFC 6749. The access token is a JWT, but its typ is JWT rather than at+jwt as specified in RFC 9068.
- The obtained access token is then sent in accordance with RFC 6750 to retrieve the string registered to that Digi-Ad, which is not necessarily an address.
- Any string can be registered, so, for example, the address field could contain: “A letter arrived from the Tokyo Metropolitan Government saying, ‘You do not exist.’ You cast no reflection, and no one notices you. I quietly faded away.”1
- So far, I have not found anything that resembles OpenID Connect.
- You can also specify a postal code instead of a Digi-Ad to retrieve addresses. If the postal code is duplicated, multiple results are returned in an array.
By the way, postal codes are duplicated far more often than I had realized. According to one source, there are 1,341 duplicates. Some even span different prefectures. How did this happen?
Footnotes
Related posts

So, Let’s Get a Japan Post “Digital Address”!
How to Obtain a Digital Address To obtain a digital address, first visit the post office's Digital Address website. Judging from this, it does not seem…
Japan Post Reportedly Considering a 7-Character Alphanumeric Address Identifier for Deliveries by Rakuten Group and Others, but…
The top story in the Nikkei on 5/26 was reportedly “Japan Post to Identify Addresses with 7-Character Alphanumeric Codes; Rakuten Group and Others Consider Adoption for…

Is the Information-Sharing Platform for the “Number” System Complex?
In discussions of a national ID system—the “Number” system, sometimes incorrectly called the Common Number system—one system component is called the “information-sharing platform.” It is the…
You must be logged in to post a comment.